
How to Tint Your Car Windows
Tinting car windows is becoming more popular—and it’s easy to see why. There are many benefits to car window tinting, including higher fuel efficiency, cooler interiors, protecting your skin from the harmful rays of the sun, avoiding car theft, and of course adding a nice look to your vehicle. Many vehicle owners are deterred by the high cost of window tinting, which can include a hefty price tag for the labor. Here’s how to skip the huge expense and learn how to tint your car windows yourself.

1. Look Up Window Tinting Laws in Your State
Every state has laws about car window tinting. This is simply because if there is a hit and run accident, or a fugitive on the run in a car, police officers like to be able to see who is driving and riding in the vehicle. Because of this, you want to ensure that you are abiding by the law, which can vary depending on which state you live in. Some states allow you to tint the rear passenger windows, but not the windshield or driver’s window. Some states also have a medical exemption law for tinted windows, but again, you just want to make sure that you are abiding by the rules before you start your window tinting project—otherwise you may be subjected to being pulled over.
2. Gather Your Window Tinting Supplies
Once you’ve determined what is legal in your state, now it’s time to gather the supplies you will need to get the job done. You will need the window tint film of your choice, a window tint application solution, a lint-free cloth, squeegee, and razor blade.

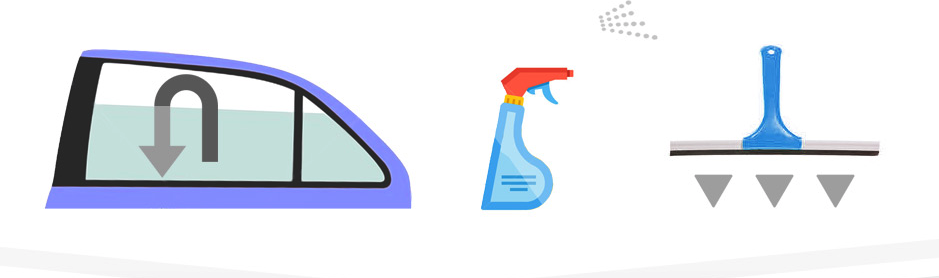
3. Clean Your Windows (And Then Clean Them Again)
After you have everything your supplies gathered to tint your car windows, now it’s time to clean. Cleaning your car windows is one of the most crucial steps in the process because if there is any spec of dirt, there could be air bubbles on the window tint, which will detract from the look of the finished product. Using your window ting application solution and a squeegee, thoroughly clean your windows on the inside and outside. Do this as many times as it takes to get the glass looking factory new.

4. Measure and Cut the Film
Once the windows are clean, you are now ready to measure and cut the film. Spray some window tint application solution on the outside of the window and roll out your tint film with the liner side facing out (the liner side is clear and the film side is tinted). Be sure to leave about ¼–½ inch of space below the gasket just to make sure you have enough. Once you’ve rolled out your tint film to the width of the window, cut the excess carefully. Now, wet the outside of the film with the application solution and squeegee in a downward motion to hold the film in place.

5. Trim it Up
After the film is in place, trim it to fit the window vertically. Be careful to only apply enough pressure to cut the film (and not accidentally cut the window). Once the film has been cut vertically, now carefully grab the film from the bottom and pull it up about a couple of inches. Roll the window down two inches and then trim the film horizontally, using the curve of the window as your guide.

6. Remove the Liner
Once the film has been cut to the window’s size, now you will remove the liner from the tint, spraying the window tint application solution as you peel, which reduces static electricity that can attract dirt.

7. Apply the Film
Now you are going to move the film from the outside where you measured to the inside, where the film will live permanently. Make sure the inside of the window is sparkling clean and spray down with solution. Place the wet adhesive against the wet glass inside. Position the film, leaving about a ⅛-inch gap at the top of the window. Spray the solution once in place and squeegee to dry, working from the top down. Remove any excess water and be sure to slip the bottom of the film under the gasket.
Congratulations! You have now successfully applied window tint to your car windows.
